
Blog
Stay Informed and Inspired: Check Out the Latest from CrossFit Dunwoody's Blog
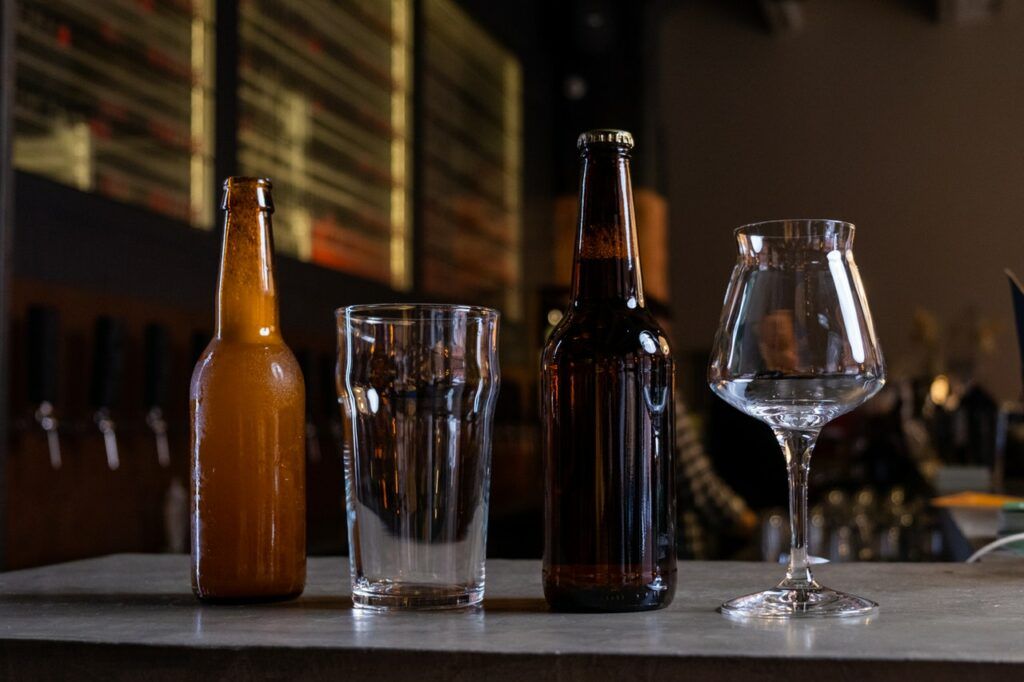
Since about 7000 B.C., alcohol has been a staple for gatherings in many cultures. You may have heard that wine can be healthy for your heart, or that a hot toddy when you’re sick helps you get better quickly. With the holidays coming up, you may be wondering: Are these claims true? Like most answers: ...
The post Where Does Alcohol Fit into Your Training? appeared first on CrossFit Dunwoody.
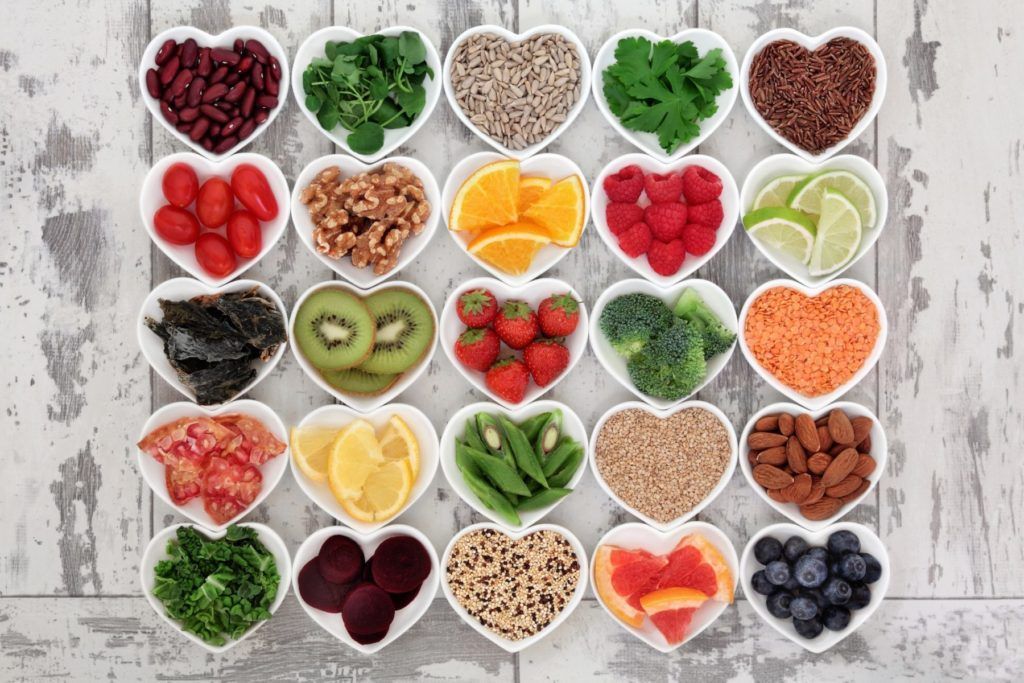
As an athlete, worker, or super mom you are always looking for a competitive edge. When it comes to your diet, you should employ the same strategy. Superfoods are foods that have more benefits than the energy they provide from carbs, fat, and protein. Superfoods contain vitamins, minerals, and other key phytonutrients that support your ...
The post 5 Superfoods To Boost Your Training appeared first on CrossFit Dunwoody.
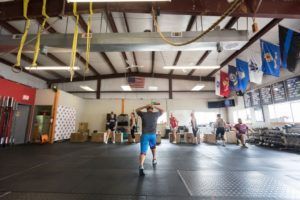
Today there are so many fitness programs and classes available it can be overwhelming to decide how to train. If you are researching training programs you have probably heard of High Intensity Training (HIT) or High Intensity Interval Training (HIIT). HIT is incorporated into many classes and has grown in popularity due to its ability ...
The post Why High-Intensity Training (HIT) Is Good For You appeared first on CrossFit Dunwoody.
Warmups and cooldowns are an essential part of training and should be given as much thought and effort as the workout itself. In fact, if you’re short on time you are better off going through a proper warmup, mobilization, and stretching session than to try to get a quick workout in while skipping these components. ...
The post How To Optimize Your Warmup And Cooldown Routines appeared first on CrossFit Dunwoody.
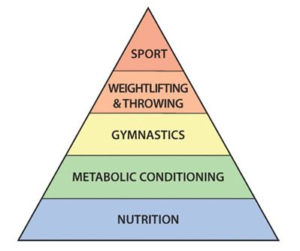
By: Coach Amber Hopeman (@eat.train.mom) Over the coming weeks, our blog posts are going to be focused on gymnastics. We are going to talk shapes, kipping, efficient transitions, etc… But before we get into dynamic movement let’s take a step back. First off, why focus on gymnastics first? Because fundamentally, the stronger, more efficient we ...
The post Re(building) Your Foundation: Strict Strength appeared first on CrossFit Dunwoody.
When you are dedicated to your training and putting in the hours to achieve your goals then there is nothing more frustrating than joint pain and inflammation. It almost feels like your body is punishing you for working hard. No fair, right! Rather than make excuses about your pain or backing off on your training ...
The post 4 Ways to Save Your Joints appeared first on CrossFit Dunwoody.
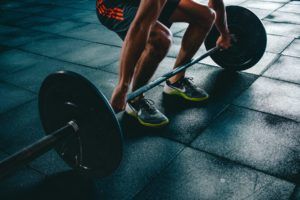
People tend to have polarized feelings about deadlifts. Either they love them or they hate them. No matter how you feel about them, deadlifts are a great movement to strengthen your entire back and surrounding muscles. Let’s explore the top 3 tips to maximize your deadlifts! Ditch the Mixed Grip Dial-in Your Setup Position Train ...
The post Top 3 Tips to Maximize Your Deadlifts appeared first on CrossFit Dunwoody.
“Most people have the will to win, few have the will to prepare to win.” – Bob Knight Many people have diligent post workout recovery routines including consuming protein shakes, supplements, and other key nutrients. However, very few individuals give much thought to their pre-workout nutrition. What you consume for fuel before you exercise should ...
The post 5 Pre-Workout Nutrition Tips appeared first on CrossFit Dunwoody.

CrossFit Dunwoody is proud to offer a great workout for all levels of fitness, whether you’re a beginner or expert. But you may be wondering what it’s like to visit CFD for the first time and what to expect here. Well, wonder no more! We were excited to have Peggy and Audra from the The ...
The post What’s it like visiting CrossFit Dunwoody? Hear Peggy and Audra’s experience! appeared first on CrossFit Dunwoody.
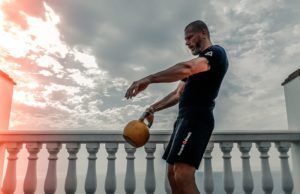
If you could only buy one piece of equipment to accomplish all of your training what would you buy? Treadmills and cycles are great for cardio but definitely won’t get you stronger. A barbell is great but where do you have room to keep it and let alone use it? Total gym style machines always ...
The post Top 3 Reasons To Train Kettlebell Swings appeared first on CrossFit Dunwoody.
Join the best CrossFit gym in Dunwoody, GA today!
Come visit us in person - book your free intro today.